Critical Seal
Responsible for keeping oil from leaking at the rear of the crankshaft and for keeping harmful contaminants out, the rear main seal comes in different designs and materials. When replacing a rear main seal, the design of the seal dictates the installation process. Discover how to install each different type of Fel-Pro® rear main seal:
1-Piece rubber or PTFE

2-Piece rubber

Rope

Getting Ready
No matter what type of rear main seal you’re installing, there are three key steps to take before starting the job:
- Choose the Application-Specific Fel-Pro Rear Main Seal Kit
Engineered and manufactured specifically for imperfect sealing surfaces found in the repair environment, Fel-Pro rear main seals feature the right materials and design for the application. - Inspect Crankshaft
Examine the crankshaft sealing area for damage, including nicks, scratches or grooves, worn into the crankshaft. - Examine PCV System
Ensure it is in good working order to prevent future oil leaks or seal failures.
One-piece rear main seals became the standard on or around the 1986 model year. Made from premium rubber or PTFE with a metal shell, they deliver a reliable seal.
STEP 1
Remove the transmission and flywheel. In some cases, the engine may need to be removed from the vehicle.
STEP 2
Remove the old seal with a special tool (sold separately) or pry it out, taking care to not damage the crankshaft. You can also install sheet metal screws in the metal area of the rear seal to help remove the seal. Some engines use a RMB retainer or plate that is bolted to the rear of the engine, and these can be removed to help facilitate replacement of the RMB (rear main bearing) seal. This design may require a special alignment tool to ensure the RMB seal/retainer is properly re-located back on the engine.
STEP 3
Once the seal is removed, clean the crankshaft area and inspect it for damage. If there is damage to the crankshaft it must be addressed before you begin installation of the new seal.
Check these areas:
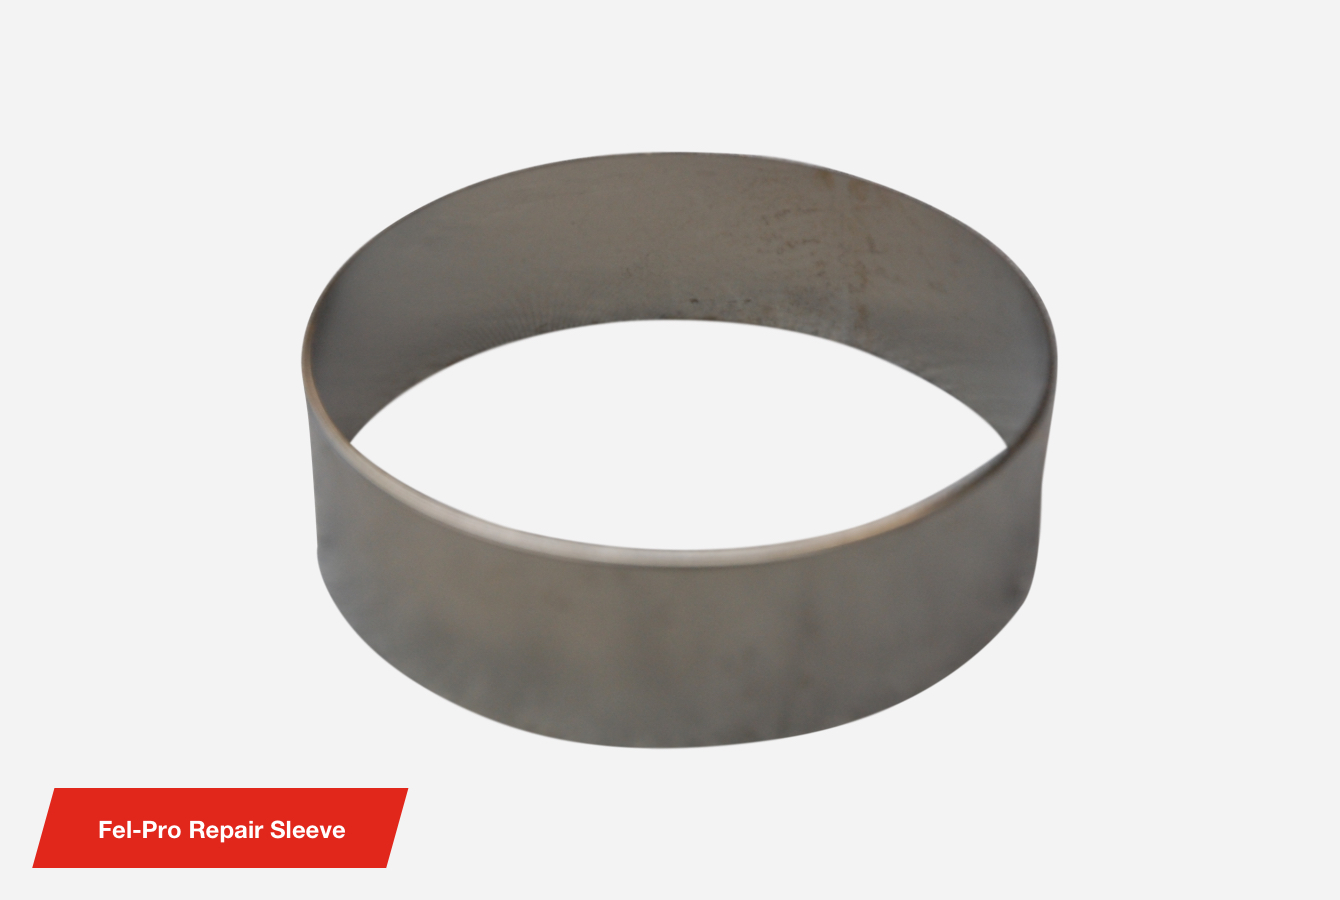
- Rubber:
Replace the crankshaft or install a Fel-Pro crankshaft repair sleeve that is available for some applications.
- PTFE:
Replace the crankshaft; note that a repair sleeve can’t be used on this type of seal.
STEP 4
Prepare the seal for installation for rubber or PTFE:
- Rubber:
Apply a light coat of engine oil to the sealing lip and the outside diameter of the seal to help it press in easily. - PTFE:
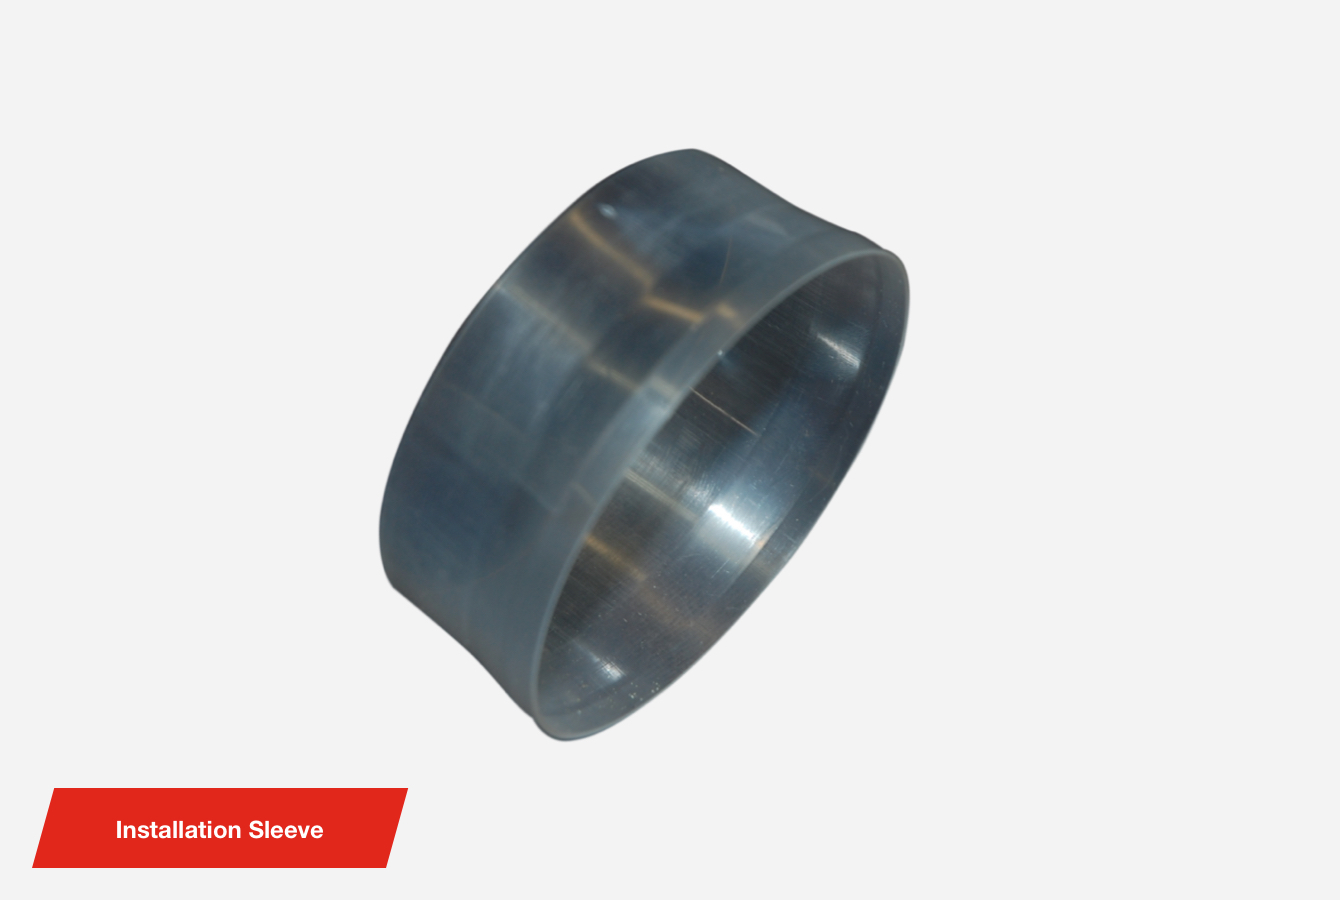
- PTFE seals come with a plastic sleeve/installation tool on the inside bore of the seal. This is to keep the sealing area stretched so the seal can fit over the crankshaft.
- Leave the sleeve in place until the seal is installed.
- Install the seal DRY at the crank sealing surface area; no engine oil is required.
- A light coat of oil may be applied to the O.D. of the seal to help with installation.
- Some Fel-Pro PTFE seals may come with a pre-applied lube – leave this in place.
- Once the seal is installed, the PTFE lip of the seal will “relax” and conform to the crankshaft after the installation sleeve is removed.
STEP 5
Press seal into the back of the engine block. For some applications, the OE or some tool manufacturers offer a tool to properly press the seal in. If a tool isn’t available, use the proper seal driver to install the seal. Install the seal to the manufacturer’s recommended depth.
Installation hint – On rubber seals, pack an oil-soluble grease into the inside of the seal where the garter spring is located. This can help prevent the spring from becoming dislodged when driving in the seal.
STEP 6
Install Fel-Pro gaskets when reassembling the lower engine to complete the job.
After rope rear main seals were phased out, the industry moved to two-piece rubber main seals that were easier to install and provided a better seal.
STEP 1
Remove oil pan, oil pump (if necessary), rear main cap and the old seals. Clean the RMB cap and crankshaft area. Inspect the crankshaft for nicks, scratches or a groove worn into the crankshaft.
STEP 2
Fit the seal in the rear main bearing cap. The large sealing lip will face the front of the engine; some seals may have “air side” on the seal indicating this side faces the flywheel. The upper portion can be slid into place around the crankshaft. A shoehorn tool is provided to help prevent damaging the back side of the seal as you insert it. Make sure a light coat of oil is applied to the seal lip before installing the upper portion.

STEP 3
Offset the seal in relation to the RMB cap parting line by about 3/8" – where the ends of the seal meet. You don’t want the ends of the seal to line up with the block and cap parting lines. Ensure the upper seal half should have one end sticking down below the block line and the other end recessed up into the block. The lower seal half should reflect this when installed into the RMB cap.

STEP 4
Apply light coat of engine oil to sealing lip of the lower seal in the RMB cap before installation.
STEP 5
Put a tiny dab (1/8" or smaller) of RTV on each end of the lower seal, where the seal ends meet, taking care to avoid the sealing lip. Less is better in this case.
STEP 6
Apply a manufacturer recommended sealer to the machined surfaces where the rear main seal cap meets the engine block. Some RMB caps may have side seals; follow the manufacturer’s instructions for these seals.
STEP 7
Torque the RMB cap to manufacturer specifications.
STEP 8
Install Fel-Pro gaskets when reassembling the lower engine to complete the job.
Rope rear main seals are used in older vehicle applications. For some applications, Fel-Pro offers a two-piece rubber seal to replace the rope seal.
Fel-Pro recommends removal of the engine and crankshaft for a rope seal installation to ensure a reliable seal. There are tools available to try to pull a rope seal into the block with the crank still in place. However this can be very difficult and may damage the rope material while trying this method.
STEP 1
Remove oil pan, oil pump (if necessary) and rear main cap. Remove the old rope material from the RMB cap and engine block. Clean the crankshaft area and inspect for any damage or worn surfaces.
STEP 2
Do not soak the rope seal in oil or any liquid. Hand fit the rope in the groove of the block and rear main bearing cap. Special tools are available to compress and pack in the rope. You can also use a socket on the rope material to roll it into place.
STEP 3
Trim the rope so it’s flush with the rear main cap and block.
STEP 4
Apply a tiny dab (1/8" or smaller) of RTV to the RMB cap rope seal ends. Apply manufacturer’s recommended sealer to the rear main cap.
STEP 5
Torque the RMB cap to manufacturer specifications.
STEP 6
Install Fel-Pro gaskets when reassembling the lower engine to complete the job.
Learn more about quality rear main seals, find your car part, or find where to buy your auto part today.
The content contained in this article is for informational purposes only and should not be used in lieu of seeking professional advice from a certified technician or mechanic. We encourage you to consult with a certified technician or mechanic if you have specific questions or concerns relating to any of the topics covered herein. Under no circumstances will we be liable for any loss or damage caused by your reliance on any content.
© 2021 DRiV Automotive Inc. or one of its affiliates in one or more countries.