Design Matters
Designed to seal the valve cover to the top of the cylinder head, the valve cover gasket can be made of various types of materials, all designed to keep motor oil from leaking out. When installing a valve cover gasket, the design of the cover and gasket dictates the procedure. Read on to learn how to install a Fel-Pro® valve cover gasket.
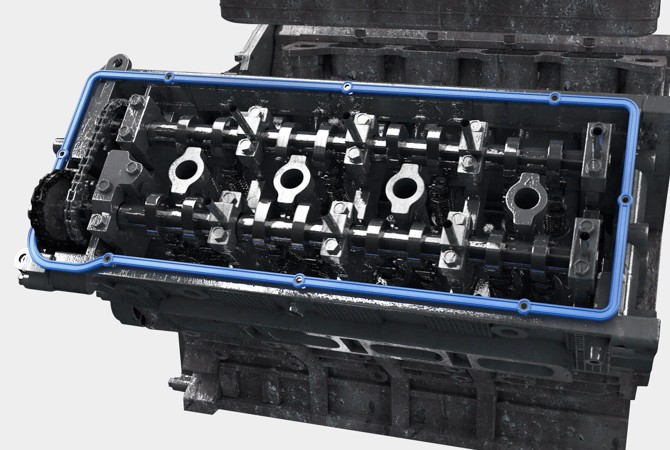
Engineered and manufactured specifically for imperfect sealing surfaces found in the repair environment, Fel-Pro valve cover gaskets feature the best materials available for the sealing situation. Proprietary materials and proven technologies like PermaDryPlus®, PermaDry® and Blue Stripe® help ensure a reliable seal on even the most troublesome applications.
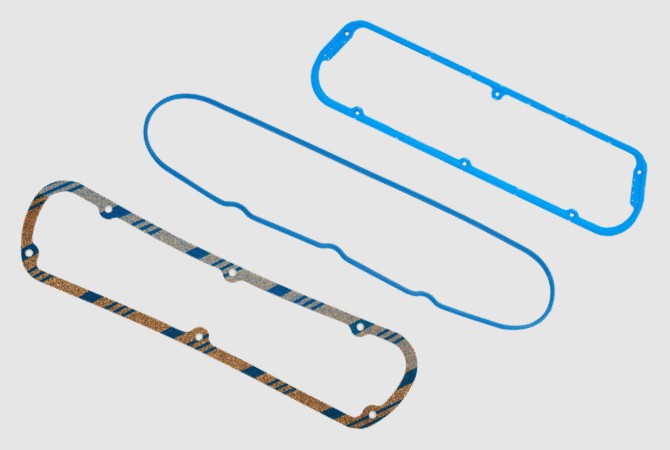
Take off the valve cover and remove the old gasket(s), valve cover bolts/grommets and spark plug tube seals if present. Clean everything off, concentrating on the valve cover itself and the cylinder head’s sealing surfaces. Remove any oil and cleaning solvents from the bolt holes. Ensure the cover’s sealing groove(s) are clean and dry. Remove all old sealing material; Fel-Pro valve cover gaskets are installed clean and dry.
Inspect the cover – especially if it’s a plastic cover – to ensure that there are no cracks in it. For a stamped steel cover, make sure the flanges are straight. On a cast cover, examine it to ensure that it’s straight and there are no damaged or cracked areas. If the cover is damaged, replace it before continuing on with the gasket installation.
The design of the gasket will dictate which of the next three steps you need to do.
Some valve covers will use spark plug tube seals as part of their design. These seals should be replaced along with the gasket to ensure oil does not end up in the tubes, which can cause engine misfire. The tube seals should be carefully removed from the cover noting the direction of the sealing lip. If the tube seal is installed incorrectly, it will “catch” on the lip of the tube, preventing the cover from being installed.
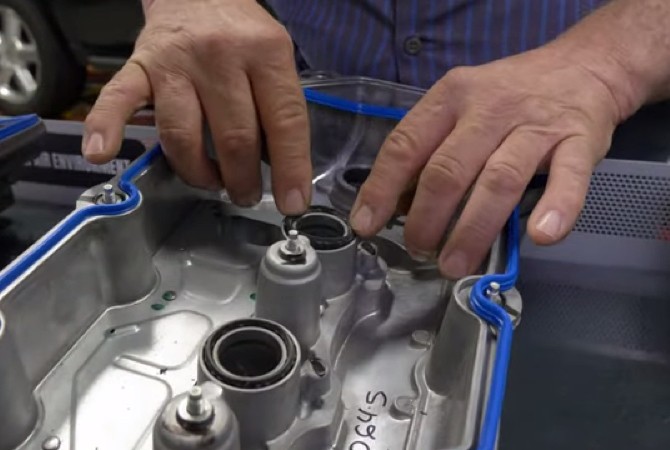
Some tube seals use a press-in-place design that you just press straight down while others need to be driven into place using a seal driver or a large socket.
Start by placing the Fel-Pro gasket on the valve cover. Depending on the engine design, there could be a left or right gasket. The gasket may not indicate which way it should be installed and laying the gasket out on the cover ensures that you’re installing it correctly.
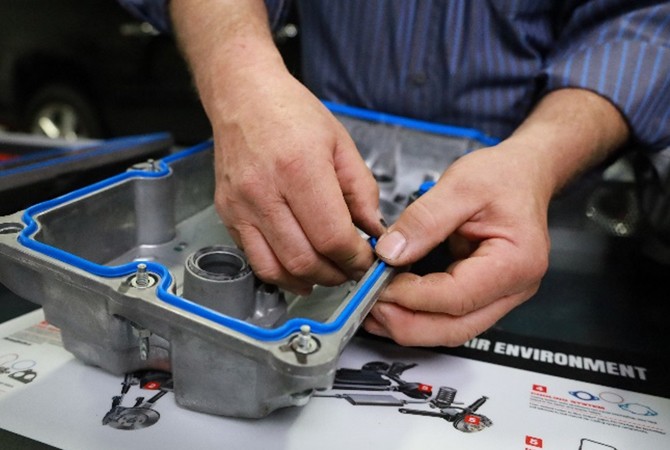
Install the valve cover gasket by pressing it in place. Pick a starting point to begin the installation. Push the gasket straight down into the groove.
For PermaDry press-in-place gaskets, DO NOT push and slide your fingers along the gasket to install it; you’ll end up with “leftover” gasket material. It can be helpful to pick two points on the cover such as between a corner and a bolt hole – work the gasket into this short area first. Continue pressing the gasket in place using these small increments until the gasket is completely installed with no material left over.
Fel-Pro gaskets come with retention features in the gasket to help it remain in the cover groove. Some covers use the valve cover bolts/grommets to help hold the gasket in the cover groove. No need for sealers or adhesives to “glue in” the gasket.
Some valve cover designs use rubber grommets at the bolt holes to seal these areas. The bolt/grommet combination helps to hold the valve cover gasket into the cover. These grommets should always be replaced to ensure proper loading and sealing of the valve cover.
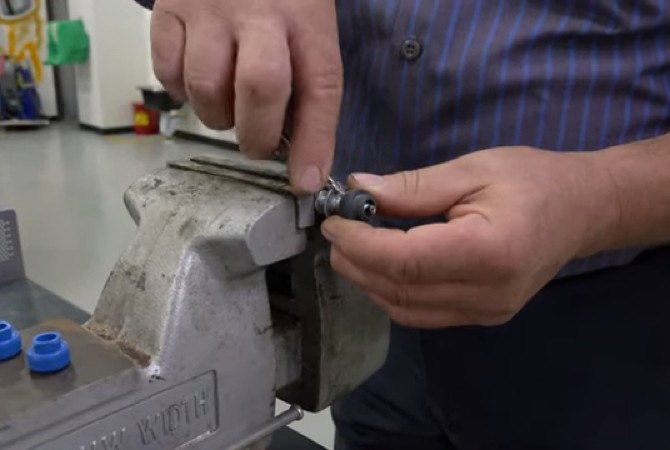
Chuck the bolt head securely in a vise and use a small screwdriver to work the old grommet off. Then slide the new grommet on. Once all the grommets are changed, you can install them into the cover. The grommets are designed with retention features to help hold them into place.
These final two steps apply to all Fel-Pro valve cover gaskets.
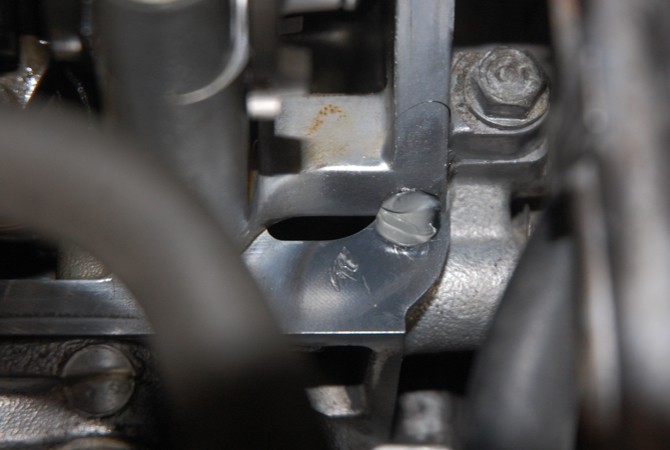
Some cylinder heads may require a small dab of RTV at the cam journal joint corners (90° corners) or where there are other castings (intake manifold, cam plugs, timing cover) that meet the valve cover gasket. These areas will require a small dab of RTV on the cylinder head to help ensure a proper seal (check out this article for more information). Don’t apply RTV to the entire gasket, Fel-Pro valve cover gaskets are designed to be installed clean and dry.
Install the valve cover. For applications with spark plug tube seals, it may be necessary to use a small screwdriver to help the cover fit over the tube seals. Once the cover is installed, follow the manufacturer’s torque specs and torque sequence. If there is no sequence, work from the center out, alternating fasteners.
Learn more about Fel-Pro quality gaskets that are specifically designed for the repair environment, find your car part, or find where to buy your auto part today.
The content contained in this article is for informational purposes only and should not be used in lieu of seeking professional advice from a certified technician or mechanic. We encourage you to consult with a certified technician or mechanic if you have specific questions or concerns relating to any of the topics covered herein. Under no circumstances will we be liable for any loss or damage caused by your reliance on any content.